To help secure your Zoom sessions, the Online & Digital Learning Department recommends you implement precautionary methods, such as:
- User Registration
- Authenticated Temple Users Only
- Do NOT enable Join Before Host
- Remove Unwanted Participants, then Lock the Meeting
Please see Additional Best Practices for Securing Your Sessions Below
Scheduling Features
Below are features to secure your sessions and help limit access to your meetings.
User Registration for Sessions:
This will require users to register with their First Name, Last Name and Email address in order to join the session.
- While scheduling your sessions or editing an already scheduled session, scroll down and check the box for “Registration Required.”

Setting a Meeting Password:
This will require users to enter an alphanumeric password to join your session. The password is automatically populated in the calendar invitation. Only people with both the meeting ID and password can join your meeting.
- While scheduling your sessions or editing an already scheduled session, scroll down and check the box for “Require meeting password.”

- When you check “Require meeting password” a password will automatically be created for you.
- You can change this password to whatever you’d like.
- Select “Save” to save your session changes.
Authenticated Zoom Users Only:
This will require users to sign into a Zoom account in order to join a meeting. Enabling the setting will disable any unwanted guests from attempting to join as they will need a valid Zoom account to get in the meeting.
- While scheduling your sessions or editing an already scheduled session, scroll down to “Meeting Options” and check the box for “Only authenticated users can: Sign in to Zoom.”
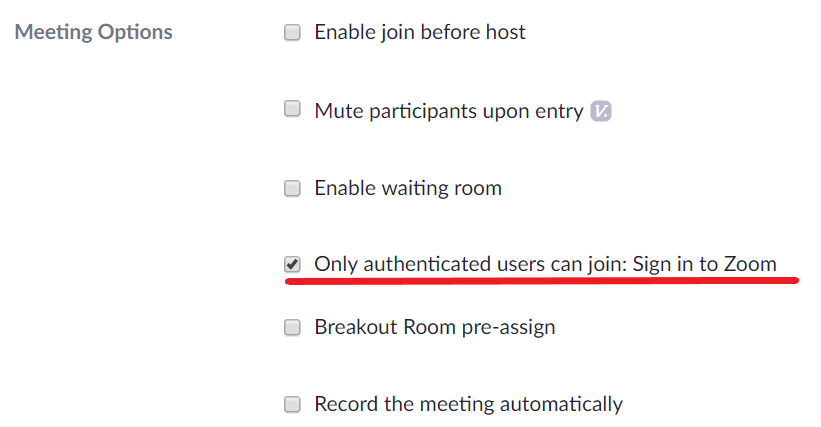
- Select “Save” to save you session changes.
Authenticated Temple Users Only:
This will require users to sign into a Zoom account with an “@temple.edu” email address in order to join a meeting. Enabling the setting will disable any non-Temple University guests from attempting to join as they will need a valid Zoom account associated with Temple University to get in the meeting.
- Go to zoom.temple.edu.
- Select “Settings” on your Zoom navigation (to the left).
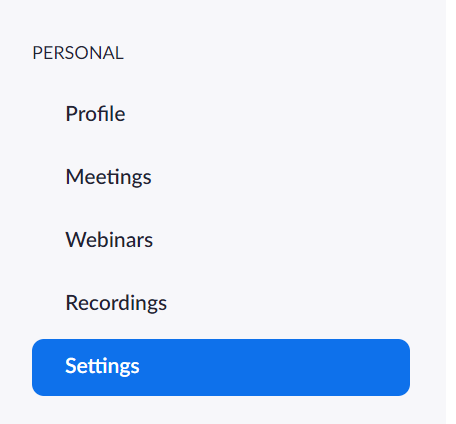
- Turn on the option for “Only authenticated users can join meeting.”
- “Only Temple Users (@temple.edu address) should be default.
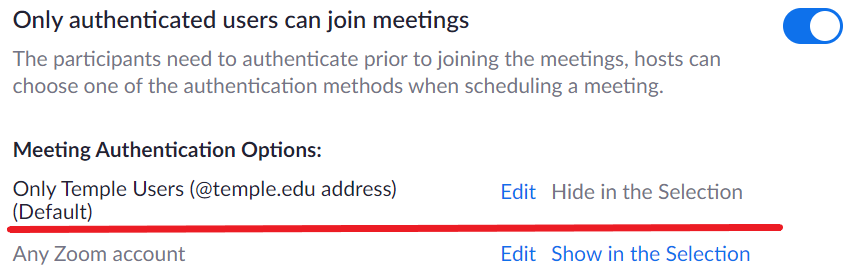
- “Only Temple Users (@temple.edu address) should be default.
Note: If you have outside guests attending your sessions (i.e. guest speakers, industry reps, etc.) you do NOT want to select this option. Instead, require registration for your session and then set a session password that can be shared for entry.
Join Before Host Option:
While scheduling your sessions, you are given the option to “enable join before host”. If you keep this option unchecked, no one will be able to join the session before you as the host join. This gives you greater control over the meeting. If you do have “enable join before host on” you will receive a notification of when and who attempted to join your sessions.
- While scheduling your sessions or editing an already scheduled session, scroll down to “Meeting Options” and you will see “Join Before Host.”
- Leave this option unchecked.
- Select “Save” to save you session changes.
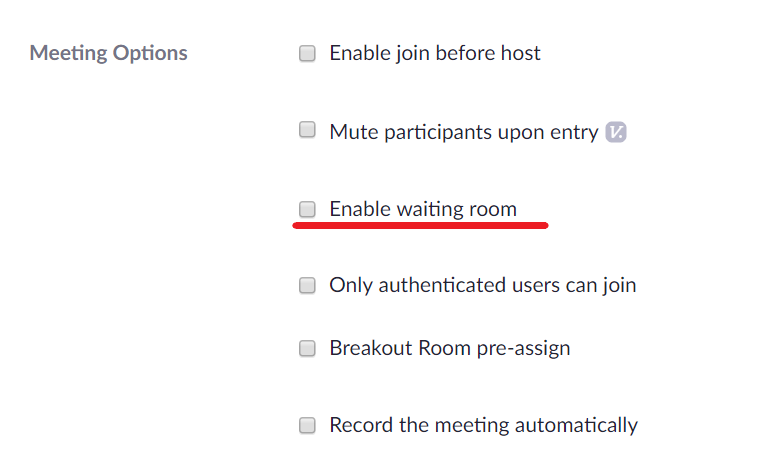
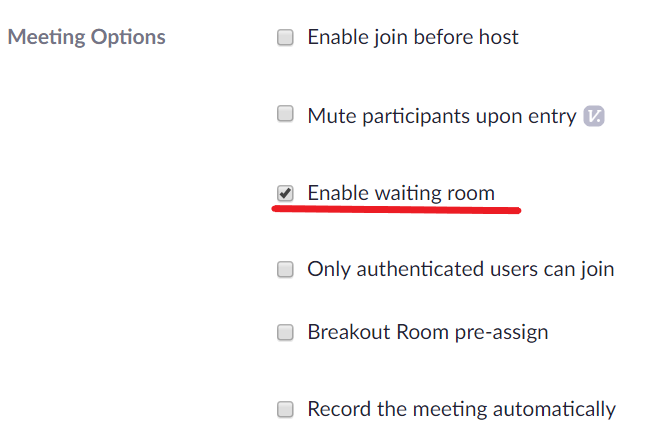
Waiting Room:
While scheduling your sessions you are given the option to turn on a “waiting room.” This will place users in a virtual waiting room before they can join your meeting, giving you as the host, the option to choose who to admit into the session.
This is a good tool to use for advising or office hours to ensure students cannot hear comments made by their peers or comments about a student's grades.
- While scheduling your sessions or editing an already scheduled session, scroll down to “Meeting Options” and select “Enable waiting room.”
In-Meeting Features
Below are features a meeting host has control over to secure their meeting.
Chat Control:
As the host, you have control whether participants can chat with everyone in the session or only with the host.
- During the Session select “Chat” on the Zoom navigation.

- Select “...” on the chat panel.
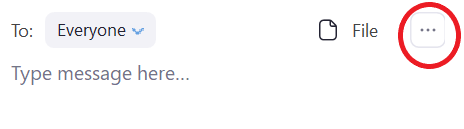
- Select whether you’d like participants to chat with: no one, host only, everyone publicly or everyone publicly and privately.
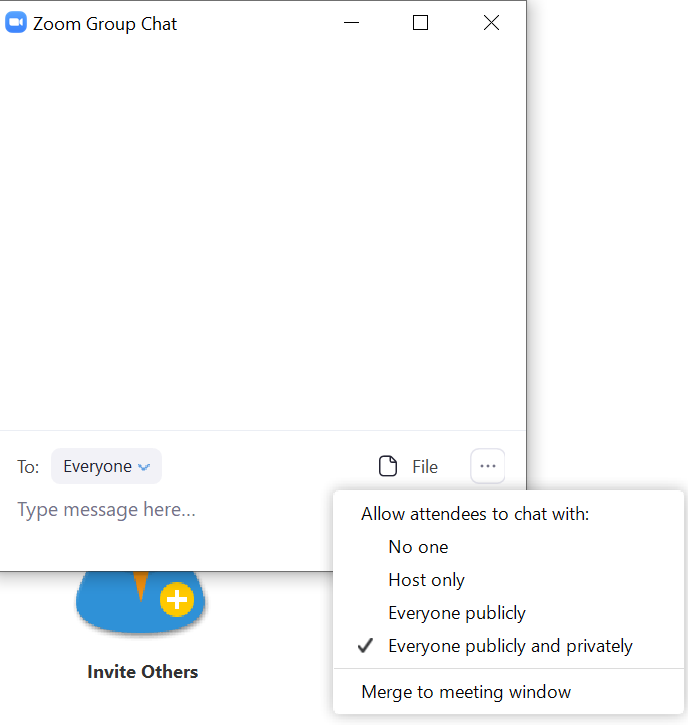
Note: It is recommended that you allow attendees to chat with “Host only.” This enables them to ask questions but limits communication between attendees and potential rude or disruptive comments.
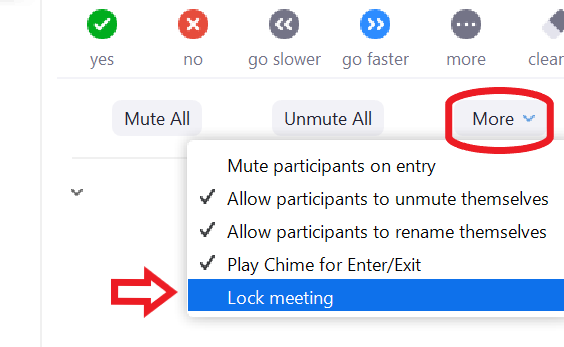
Lock the Meeting:
When you lock a meeting, no new participants can join, even if they have the meeting ID and password.
Note: Participants can get kicked out a Zoom meeting due to internet speeds. Be careful when selecting this option as you may lock out students from returning to a session. You’ll need to “Unlock” the session for them to join again.
- During the Session select “Manage Participants” in the Zoom navigation.

- Select “More.”
- Select “Lock meeting.”
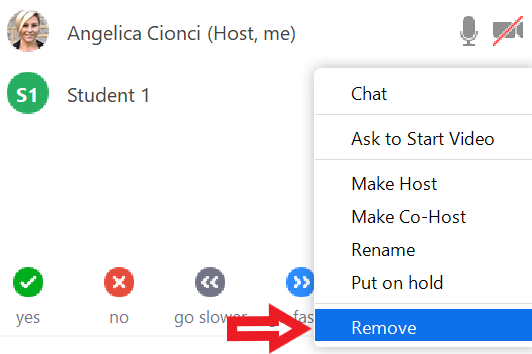
Remove a Participant:
Removing a user from your participants list will expel a participant from the meeting. That participant can return, however, unless you select to “Lock” your session after removing them.
- During the Session, select “Manage Participants” on the Zoom navigation.

- In the Participant's panel, hover over the participant’s name and select “More.”
- Select “Remove.”
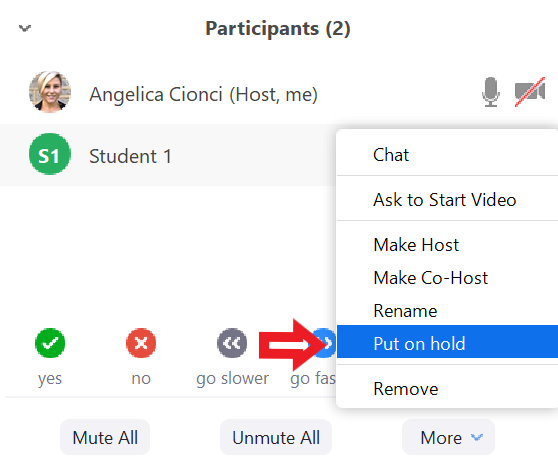
Put Attendee on Hold:
Putting a user on hold will disable their audio and video connection in the session.
- During the Session select “Manage Participants” on the Zoom navigation.

- In the Participant's panel, hover over the participant’s name and select “More.”
- Select “Put on hold.”
If you have any questions about securing your sessions, please contact foxzoom@temple.edu